Maia (20 Tauri)
Maia is a large camera comprising a grid of film canisters shooting 30 images at a time on 35mm film
- Motivation
- Design
- Gallery
Design
This camera is essentially going to be a cardboard box constructed from 2mm thick boarding, glued together, so while construction is relatively time consuming, the process itself is quite simple. The main body of the camera is just a framework to hold the individual film canisters in position and as such does not need to be particularly lightproof, as long as the film canister pinholes are well protected. The specific dimensions of the camera shown in the pictures do not matter so won’t be shown here. Instead decide on how many film canisters are desirable and what grid formation to place them in and let the camera dimensions flow from that.
With this in mind the first step is to prepare the film canisters, using the same construction technique as for the Sirius camera, scaled up. Using an 8-10mm drill cut a hole into every film canister approximately half way up.
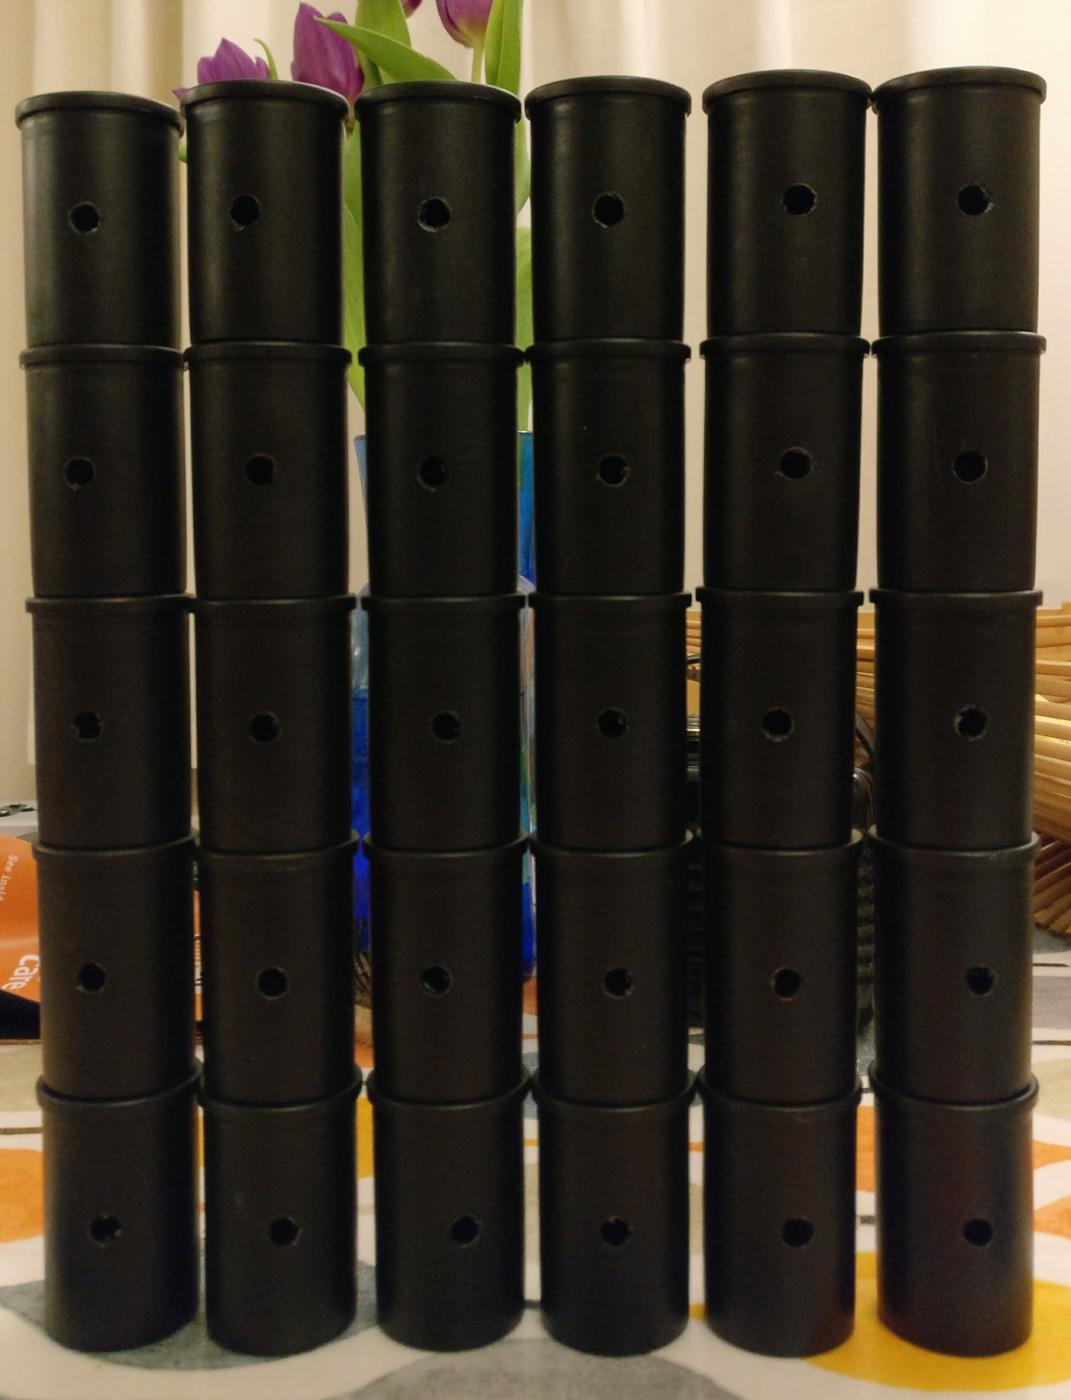
Film canisters with an 8mm hole drilled into the side
It is now necessary to create the metal pinhole plates to cover the openings just drilled into the film canisters. Any thin sheet metal can be used, in this case some old etching plate was used. In general, thinner metal is better, but not so thin that it is easily torn/damaged. A metal drink can is a good example of the thickness to aim for. Get a strip of metal and mark out a grid of 1cm x 1cm squares on it and mark the centers in each square too. Using a needle pierce center of each square to form the pinhole aperture. To ensure consistent exposure across every film canister aim to get the same size pinhole in each square.

Metal etching plate marked into 1cm x 1cm squares, with pinholes created in the center of each square
Only once all the pinholes are created, should the metal be cut into the individual squares
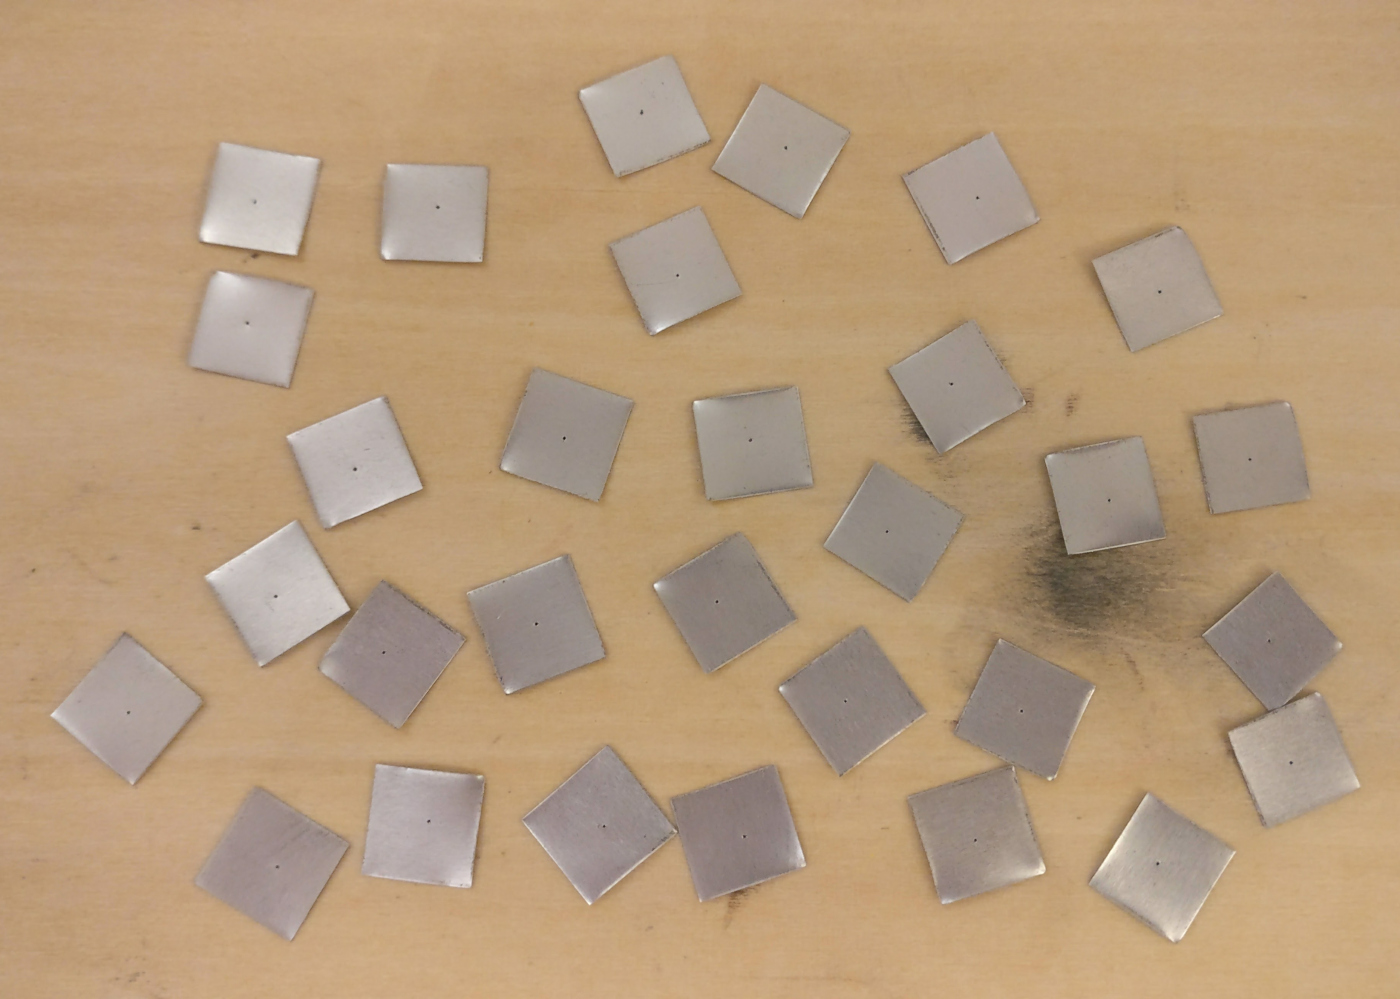
The metal sheet cut into the individual pinhole plates, each 1cm x 1cm in size with a pinhole in the center.
The film canisters are obviously curved, so to make it easier to attach the pinhole plates they should be gently bent around a fat whiteboard marker pen so that the metal curve approximately matches the curve of the film canister. Then the plates can be attached to the film canisters using black electrical tape, ensuring the pinhole is centered over the hole previously drilled in the film canister.
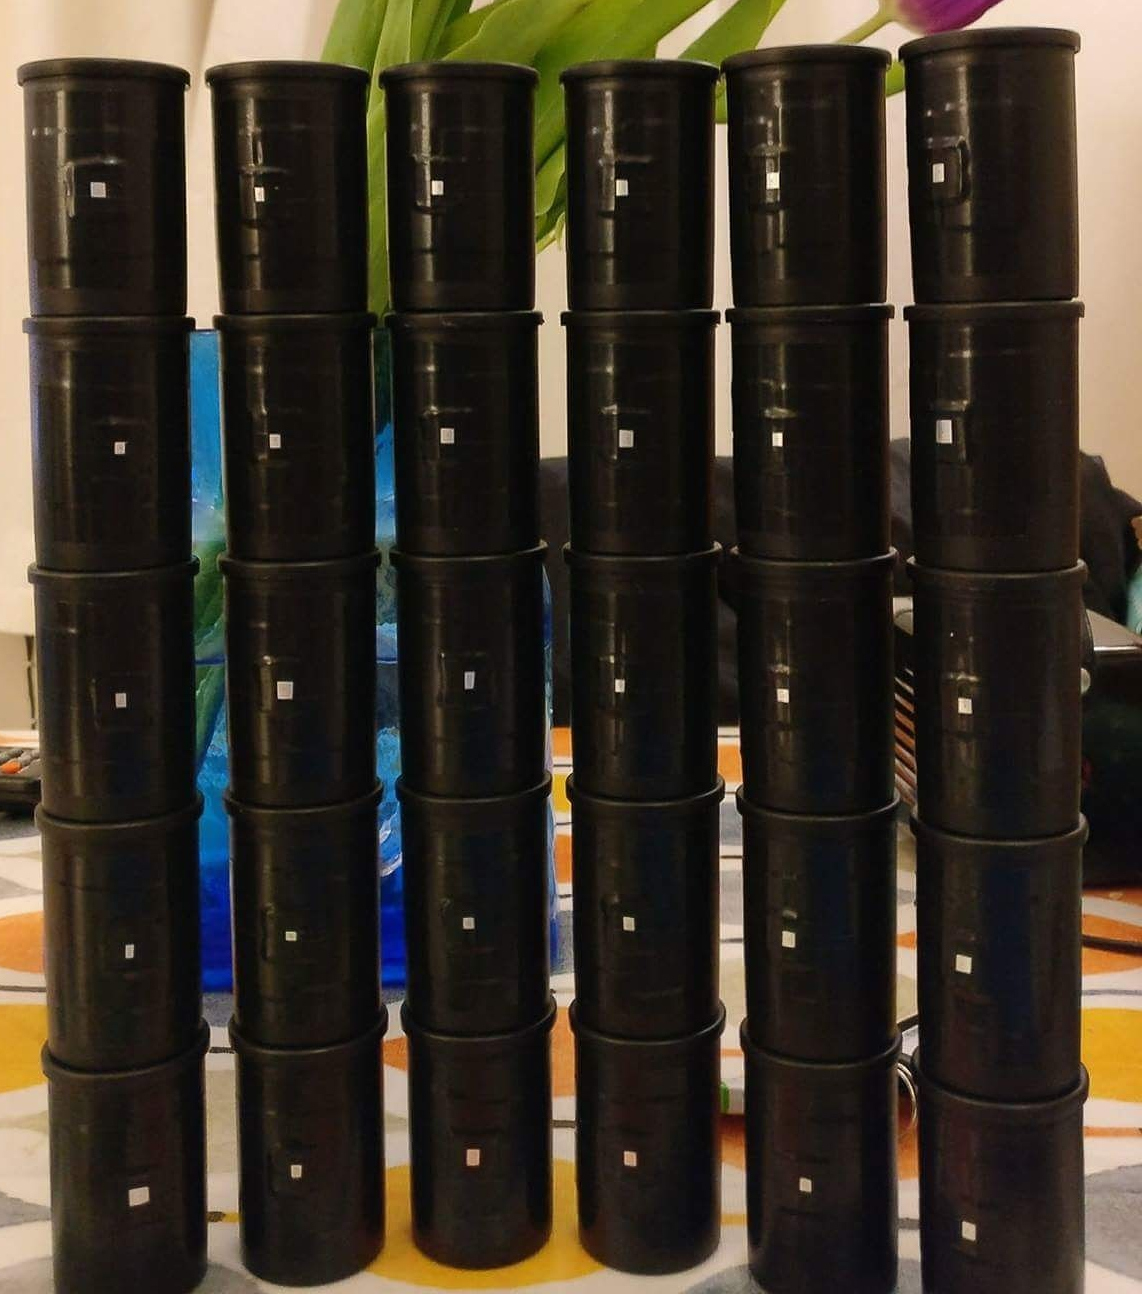
Film canisters with metal pinhole plate attached using black electrical tape. These form a lightproof box that will hole the film being exposed.
The main body of the camera can essentially be thought of as a set of shelves to hold the film canisters in position during exposure. To ensure the film canisters are evenly spread out and cannot rotate inside the box they need to be attached to strips of cardboard. A small piece of double sided sticky mounting foam is ideal for attaching the film canisters to the cardboard

Film canisters attached to a strip of cardboard to hold them in position
With the film canisters all mounted onto strips of cardboard it is now possible to determine the overall size of the box that will hold them. Each shelf in the box needs to fit the strip of mounted film canisters with about 0.5-1mm clearance above. A couple of cm spacing should be kept on the left and right ends of the strip as some clearance will be needed for the sliding shutter mechanism. For the sake of rigidity it is possible to use two strips of lightweight wood baton down each side of the box, available from any DIY store and many art / model making stores. A large sheet is cut for the back of the box and the wooden batons glued to each side of it. Strips are then glued on to form each shelf.
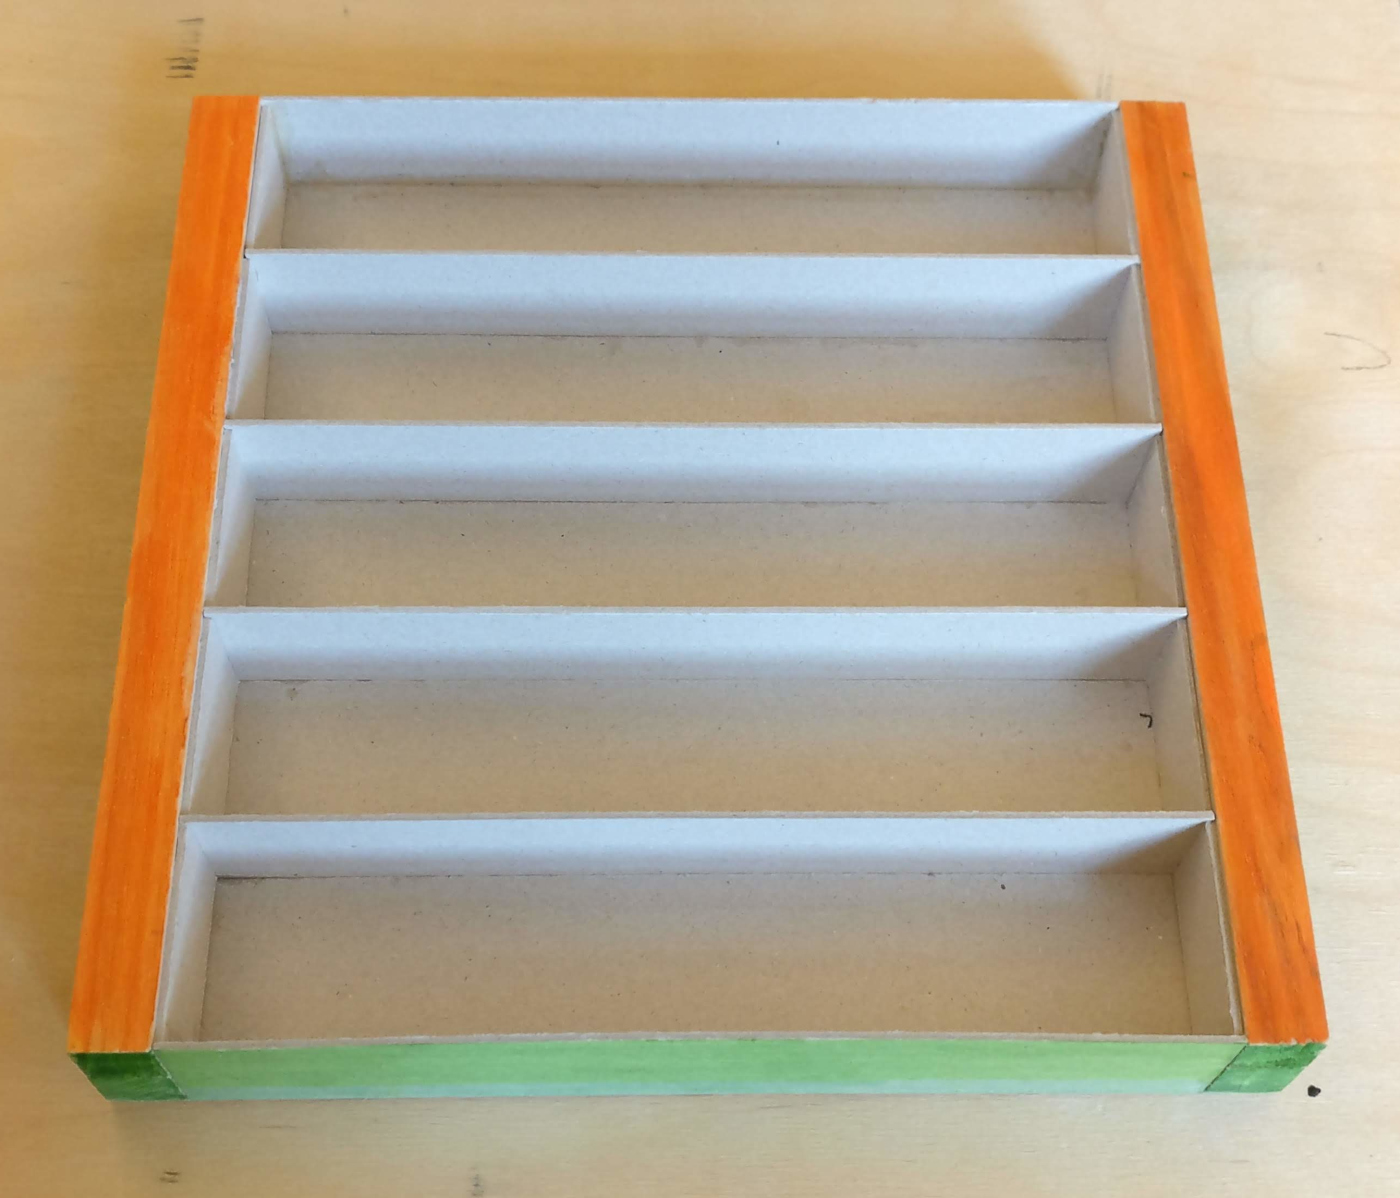
The base of the main camera body with give shelves on which the strips of film canisters will sit. Down the left and right sides, coloured orange, are strips of wood for rigidity.
Small cardboard spacers are glued between each shelf to hold them at the correct spacing apart

Close up detail of the main camera base showing the wooden baton and cardboard pieces glued together
Once the glue hold the shelves together has fully dried it is possible to start making the cover of the box. The main sheet of the cover is 2-3mm larger than the base, such that it can smoothly slide over the base to form a lightproof cover. The cover needs a large hole cut into the middle of it such that the film canisters can have an unobstructed view out. Bear in mind that the field of view for the film canister is very wide, so take care to leave enough space around them when cutting the hole in the cover. The cover then needs to have two more layers of cardboard glued on top, with a gap in the middle layer so that a sliding shutter can be inserted.
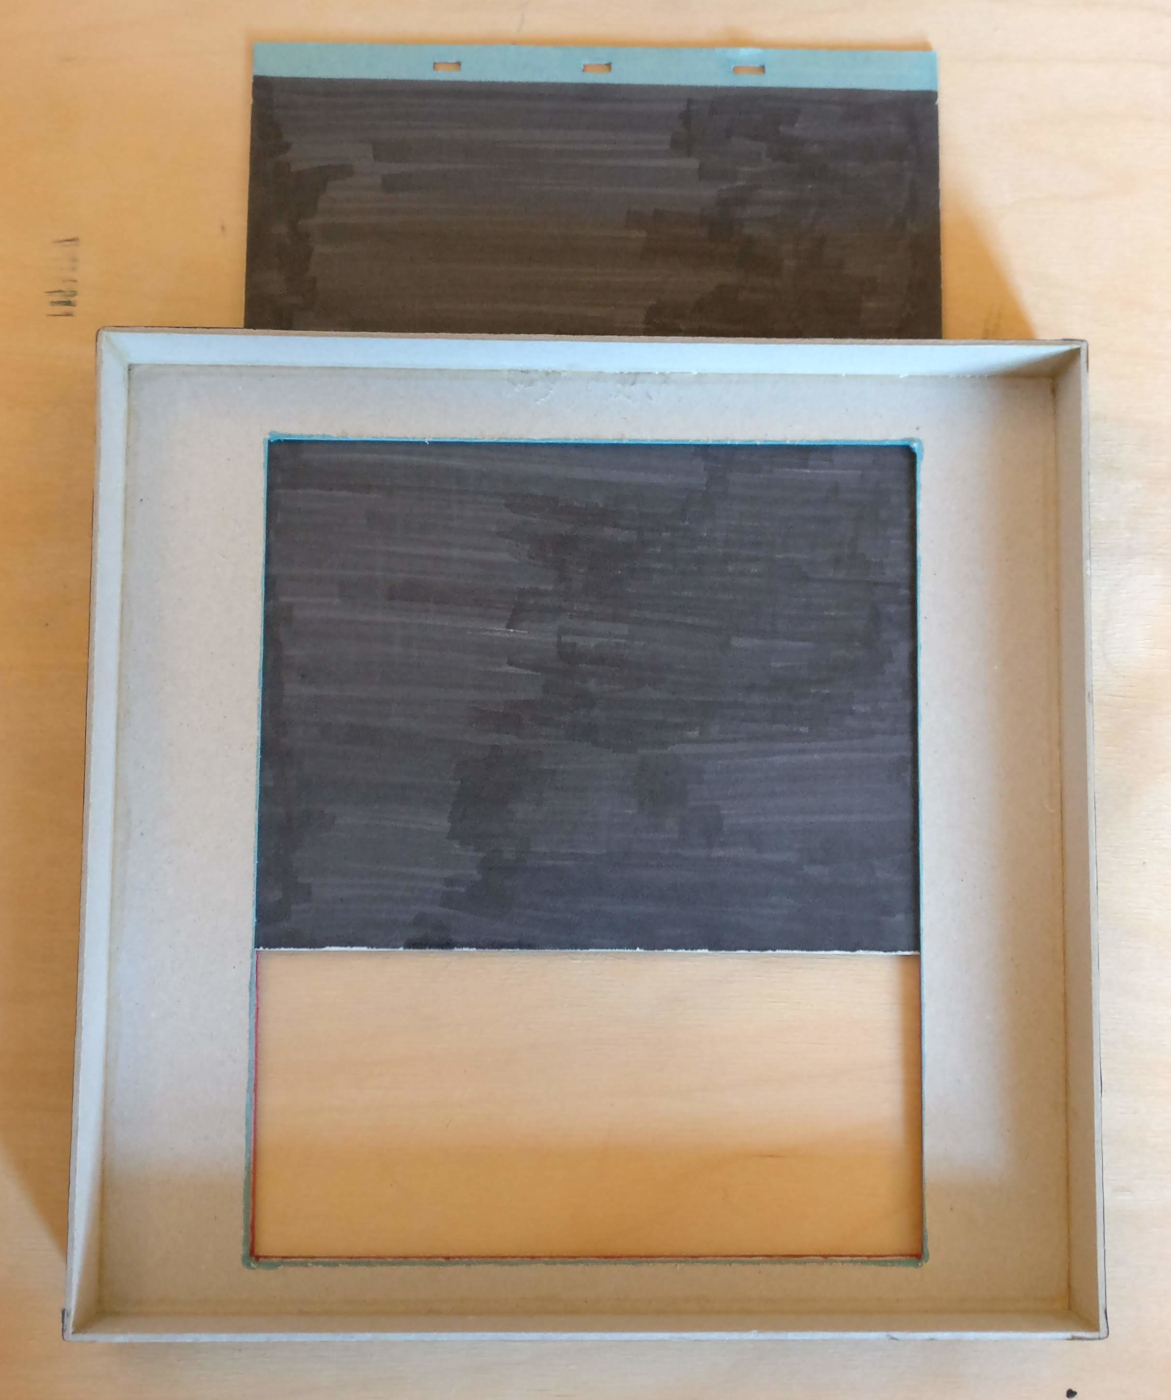
Cover for the box showing the center cut out through which the film canisters will capture the scene. The sliding shutter is partially inserted from the top.
With the cover completed the camera is essentially ready for use. The film canisters can be loaded with individual frames of 35mm film and then placed into the shelves. Loading of the film and attaching the camera cover should be done under complete darkness to avoid accidentally exposing the film prematurely. It is recommended to use orthocromatic film which can be handled under red light darkroom conditions, rather than the complete darkness required by normal film.

Film canisters loaded with film and placed in position on the shelves of the camera. Note that this should normally be done in darkroom red light conditions (if using ortho film) or complete darkness (all other film), and the cover attached before taking outside.
The gray cardboard used for construction of the camera is rather boring to look at. The camera can be brightened up by simply colouring it with patterns using a felt tipped pen.