Sirius (α CMa)
Sirius is a tiny camera exposing black and white photographic paper inside a 35mm film canister.
- Motivation
- Design
- Gallery
Design
The construction process for this pinhole camera design is one of the simplest there is, with just three parts and involving nothing more complicated than use of scissors. The core of the camera is the plastic canister used to house 35mm film, which come in two variants, one translucent white plastic and the other opaque black plastic, with the latter obviously being the desired type. The first step in construction is to take a the film canister and make a hole in the side of it, half way up from the bottom. There are many ways to make the hole, either rough and ready using a scalpel to cut out the plastic, or perfectly round using an electric drill with a 5mm bit. The size, shape and neatness of the hole doesn’t really matter, since it will shortly be covered over.
The second part required is a thin piece of metal approximately 2x2cm square. A piece cut out from an aluminum or steel drinks can is perfect for this purpose, since it already has a natural curve which will fit the film canister. I happened to use a piece of litho plate, which is just as good, though it did need to be bent slightly to fit the curve. A sewing needle is then used to create a tiny pinhole in the metal plate. The sewing needle doesn’t need to be pushed all the way through the plate. The tip of the needle merely needs to pierce the metal. After piercing the pinhole it is good to lightly sand the other side of the metal with a bit of wet & dry sandpaper to smooth it out, then pierce it again from the back, and sand the front smooth. This ensures a clean pinhole with no raised edges to distort the light

A single black film canister with a 5mm hole drilled in its side and a square of thin metal with a pinhole pierced in it.
With the two parts prepared, the camera can now be constructed, by simply taping the metal plate so that the pinhole is centered over the hole in the side of the film canister. If the camera will be left outside, exposed to the weather, be sure to use tape that can cope with getting wet. Electrical tape or duct/duck tape are both reasonable choices.
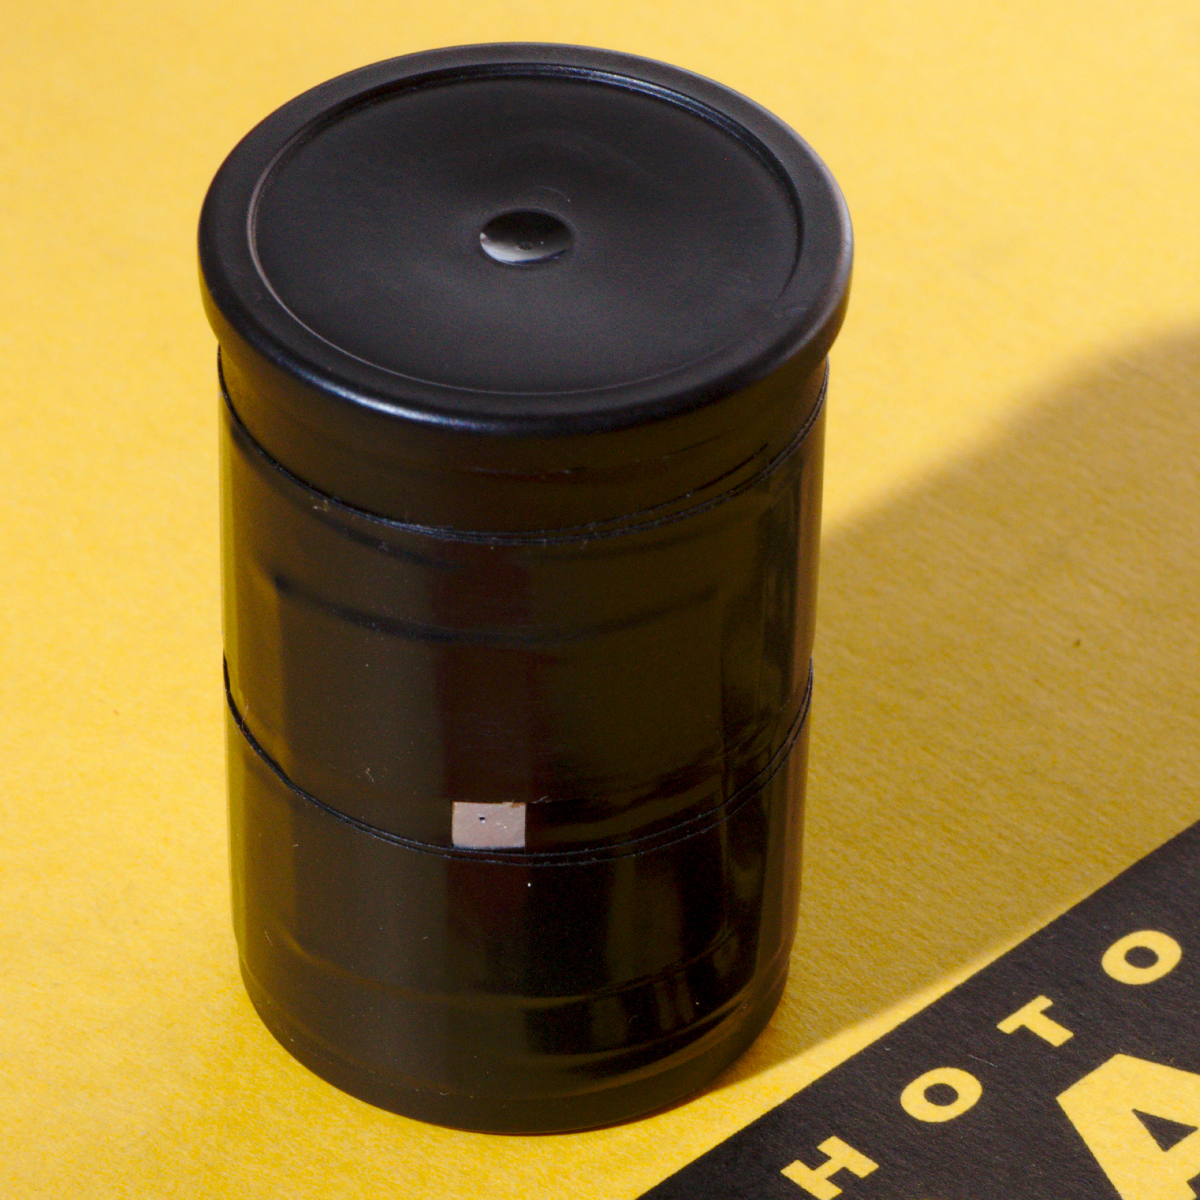
A single finished camera, made from the film canister with the metal pinhole plate taped over the hole.
Between the time paper is loaded into the camera and it is placed into position, you don’t want stray light fogged the image, so we need some kind of “shutter mechanism” to cover the pinhole. This need be no more complicated than another piece of tape, with one end folded back on itself, so that it acts as a tab that can be pulled open for exposure and recovered afterwards. The adventurous could come up with a sliding mechanism with a piece of cardboard, but that’s really overkill in general
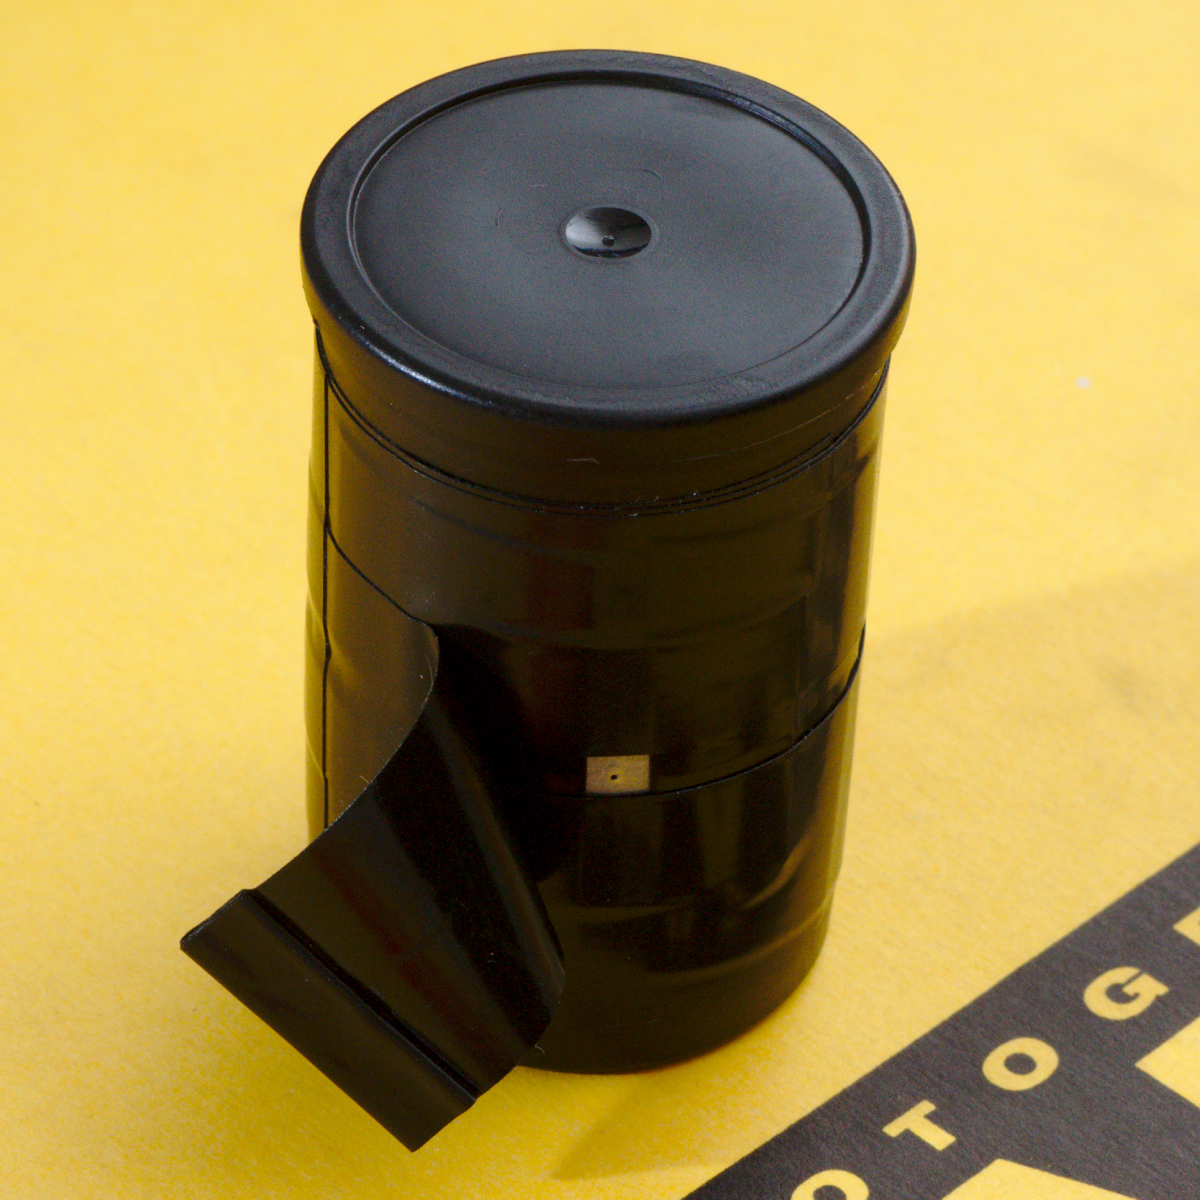
A single film canister showing the finished pinhole camera, with a tab of tape to cover the pinhole aperture.
Since the camera is so quick and easy to make, don’t restrict yourself to only making one camera. Make six cameras, or more, at once. Since exposures times will be measured in weeks or months, it makes sense to be able to capture multiple different images at the same time. Having multiple cameras opens up other interesting creative possibilities, such as arranging a group of 3 or 6 cameras in a triangular or hexagonal configuration to capture a 360 degree view.

Arranging six pinhole film canisters to provide 360 degree view, each needing to cover a 60 degree arc
The camera is intended to expose ordinary black and white photographic paper. Cut pieces of paper that are approximately 6cm by 4cm in size. This will let the paper curve all the way around the inside of the film canister, leaving only a small gap where the pinhole opening is. The paper should be cut and placed inside the film canister in the darkroom under safe light conditions to avoid fogging. Those with good co-ordination could try cutting blind and loading it inside a changing bag, but it is somewhat messy to get nice clean cuts.
With the paper loaded, place the camera in a suitable location and fix it in place somehow. It could be taped in position using duct tape, or blu-tacked to a suitable surface, or held using a piece of wire – use whatever is most suitable for the location. Then open the “shutter” to uncover the pinhole and leave it to expose for a while. The minimum practical exposure time outside is on the order of 1 week. This is probably a reasonable length for a very first test shot, to see the kind of results obtained, but longer exposures will increase the intensity significantly. Anywhere from 4 weeks to 6 months or even more is an acceptable exposure time.
Normally when exposing photographic paper to light, an invisible “latent” image will be produced, which then has to be brought out with developer. With such incredibly long exposure times though, the image will be fully visible on the paper the moment it is removed from the camera. There is no need to process the paper with developer, and indeed it should never be processed since doing so will obliterate the image to pure black. Similarly the image should never be fixed. The implication of this is that the images produced by this pinhole camera will not be persistent, and will start to degrade the moment the paper is removed from the film canister. For this reason, the recommendation is to only remove the paper when at home and immediately place it onto a flatbed scanner to capture its pristine state. The image on the paper is a negative, so after scanning, invert the colors with a image editor. It should also be flipped horizontally to get the normal view. After inverting the negative image, the magic of this process will be revealed – the resulting image will show a variety of colors, despite having been captured on black and white paper. The longer the exposure, the more intense the colour will be. Typically the colours will show hues of purple, blue and gray/brown.